
Sicilian Defense: Alapin Variation · B22
Alapin Sicilian Explained Through a Wild GamePlans, Pawn Structure & Turning Points
Pawn Structure, Plans & Piece Activity: what Tenezaca vs El (Alapin Variation) teaches. How White's passed d-pawn is created, supported and pushed — and what it costs the other side to stop it.
The game
- White
- Tenezaca, Cristian (1875)
- Black
- El, Rozak (1619)
- Result
- 1-0
- Event
- Olymp 2026 Open
- Round
- 4.366
- Date
- 19 Sept 2026
- ECO
- B22
- Opening
- Sicilian Defense: Alapin Variation
- Length
- 22:38
- Level
- club
About this game
An Alapin Sicilian swings wildly through queen losses and reversals before a passed pawn and a late sacrifice seal the win. Played at Olymp 2026 Open, 2026.
Lessons
What you'll learn
Passed pawn
How White's passed d-pawn is created, supported and pushed.
Doubled pawns
What White's doubled d-pawns cost in the long run, and how the other side plays against them.
Hanging pawns
White's c- and d-pawns stand together with no neighbours to support them.
Sicilian Defense: Alapin Variation
The plans this opening sets up for both sides, and where the game leaves the book.
Chapters
How the video is organised
- 0:00Opening
- 4:30Middlegame
- 17:02Endgame
- 20:57Takeaways
Key positions
The moments that decided it
13. Ra2 — the swing
Black's queen sits on a4, and White had a simple recapture available there. Instead, White played the rook to a2. It does eye the half-open a-file against Black's a7 pawn, but it leaves that rook sitting there for the taking, and it skips the far stronger option on the board. The engine's verdict is brutal: White's healthy edge of about three pawns turns into a deficit of over ten. This is the moment the game changes hands. For a club player, the lesson is simple: when a clearly winning recapture is sitting in front of you, take it before reaching for a quieter plan. From here, White has to fi
Queen Trapped on a3
Black is winning here, and the engine preferred simply capturing the rook on a2, leaving White in ruins. Instead, Black plays the queen to a3. It still looks active, but it walks into trouble: White answers Rxa3, and the queen has nowhere safe to go. In an instant, Black hands back most of the material advantage built up over the last several moves. The position still favors Black afterward, but nowhere near as one-sided as it should have been. The lesson is simple: when a piece is undefended and reachable, take it before reaching for a fancier square. Ambition without calculation can undo a w
14. Rxa3 – Queens Off
After the queen infiltrated to a3, White had only one sensible answer: take it. The rook captures on a3, and with the engine confirming this is the only real recapture, White regains the material by scooping up Black's queen. The evaluation barely moves, still deeply in Black's favour, because the piece that made this incursion is now gone but Black's earlier gains remain. This is the moment the queens leave the board for good, and the game shifts from a middlegame fight into a queenless struggle where rooks, minor pieces and pawn structure will do the talking. Black now has to convert whateve
Castling Instead of Recapturing
After the queens came off, Black had a simple recapture sitting on the board: the bishop taking back on a3. That move alone kept Black clearly ahead, with the engine still favouring Black by around six pawns. Instead, Black chose to castle, tucking the king away with fourteen... O-O. It looks natural, king safety first, but it lets White's rook stay exactly where it is on a3, and the material and piece coordination White gets to keep changes everything. The evaluation doesn't just shrink, it flips: from a clear Black advantage to a swing of over three pawns in White's favour. That's the cost o
17.Bg5 - Trading the Bad Bishop
White still has a large advantage here, and the engine preferred consolidating with Ra6. Instead, White plays Bg5. The move looks active, but it leaves the bishop on e2 vulnerable, and Black immediately exploits that on the next move with ...Rxe2. The evaluation swings sharply as White's coordination breaks down. The practical lesson is that an active-looking move can still be costly if it leaves another piece loose.
Rxe2: the only move
With the queens already off the board, the position still had teeth. On e2, White had left a bishop that Black's rook could simply take, and here it was the only move worth considering — nothing else kept Black's advantage intact. Black played Rxe2, picking up the bishop outright. The engine had already favoured Black by roughly two pawns before this, and the capture confirmed rather than created that edge, holding steady afterward. What it changes is concrete: material now clearly favours Black, and with bishops still on the board for both sides, Black's pair starts to matter more as the cent
Replay
Play through the game
Move 0 of 83. Positions are generated from the PGN by a deterministic chess library.
Keep learning
Related games
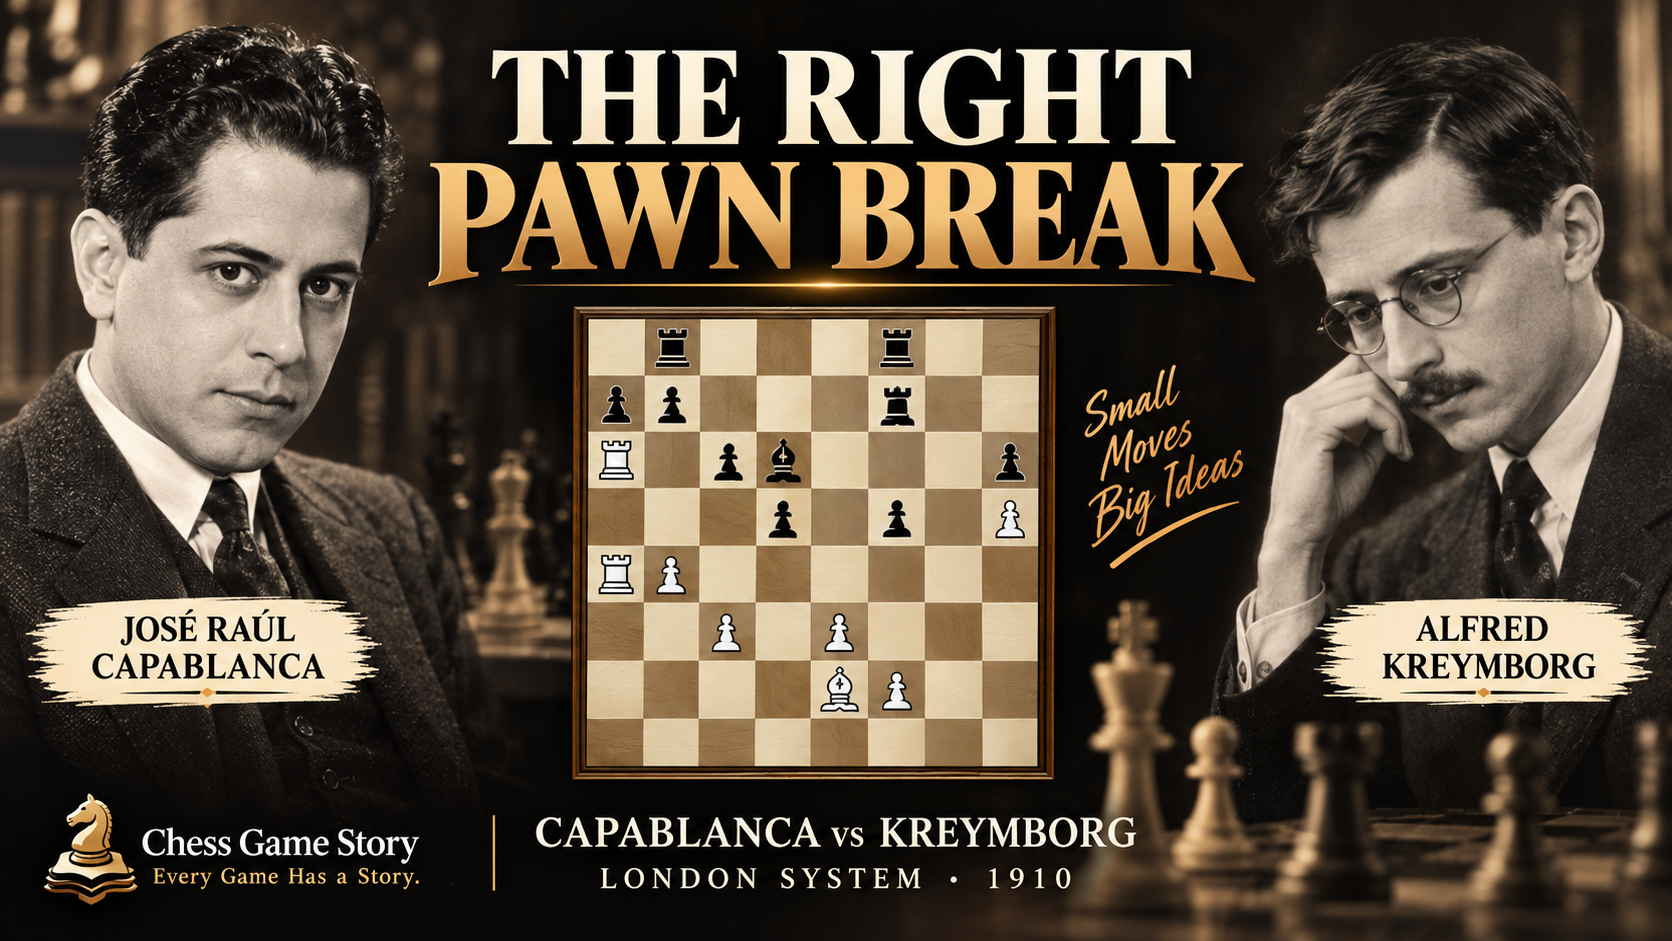 London SystemD0218:04
How Capablanca Beat Kreymborg with the London System | Attack, Strategy & Pawn Structure
Jose Raul Capablanca vs Alfred Kreymborg
Attack, Strategy & Pawn Structure: what Capablanca vs Kreymborg (London System) teaches. Both sides attack the other’s king with pawns and pieces — who is faster, and why every tempo counts.
Also teaches Hanging Pawns
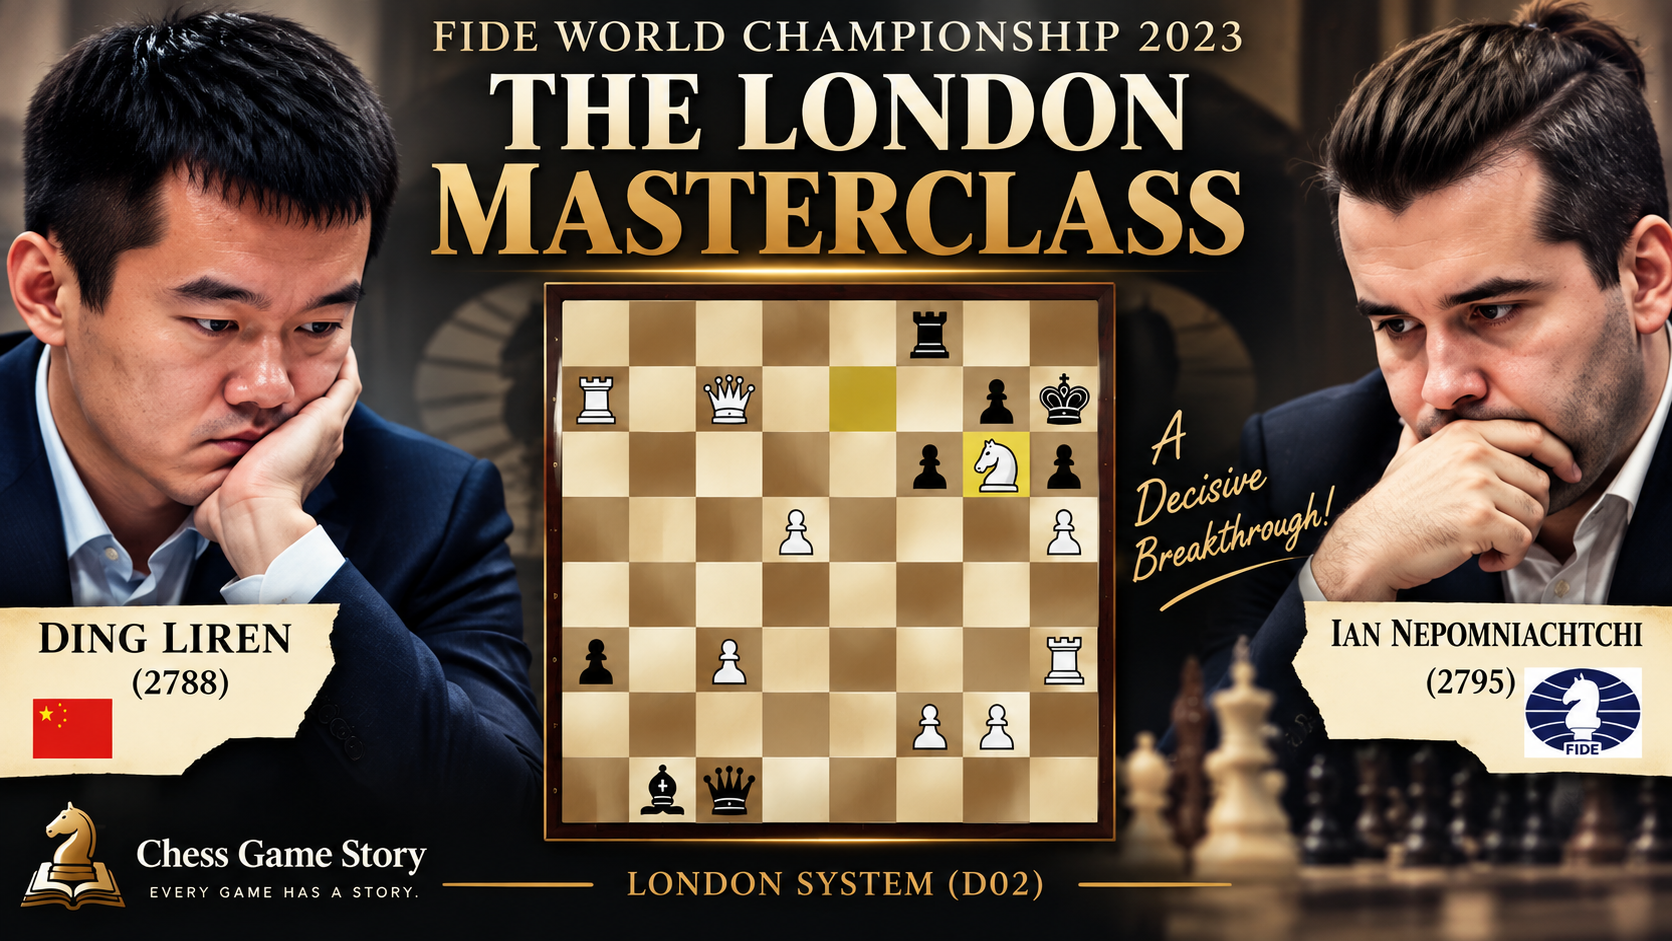 FeaturedLondon SystemD0212:54
Ding’s London System Masterclass | Plans, Strategy & Attack
Liren, Ding vs Nepomniachtchi, Ian
A small weakness quietly decides this World Championship game. Ding Liren against Ian Nepomniachtchi. Watch how one lasting edge grows until resignation follows.
Also covers Opening Plan
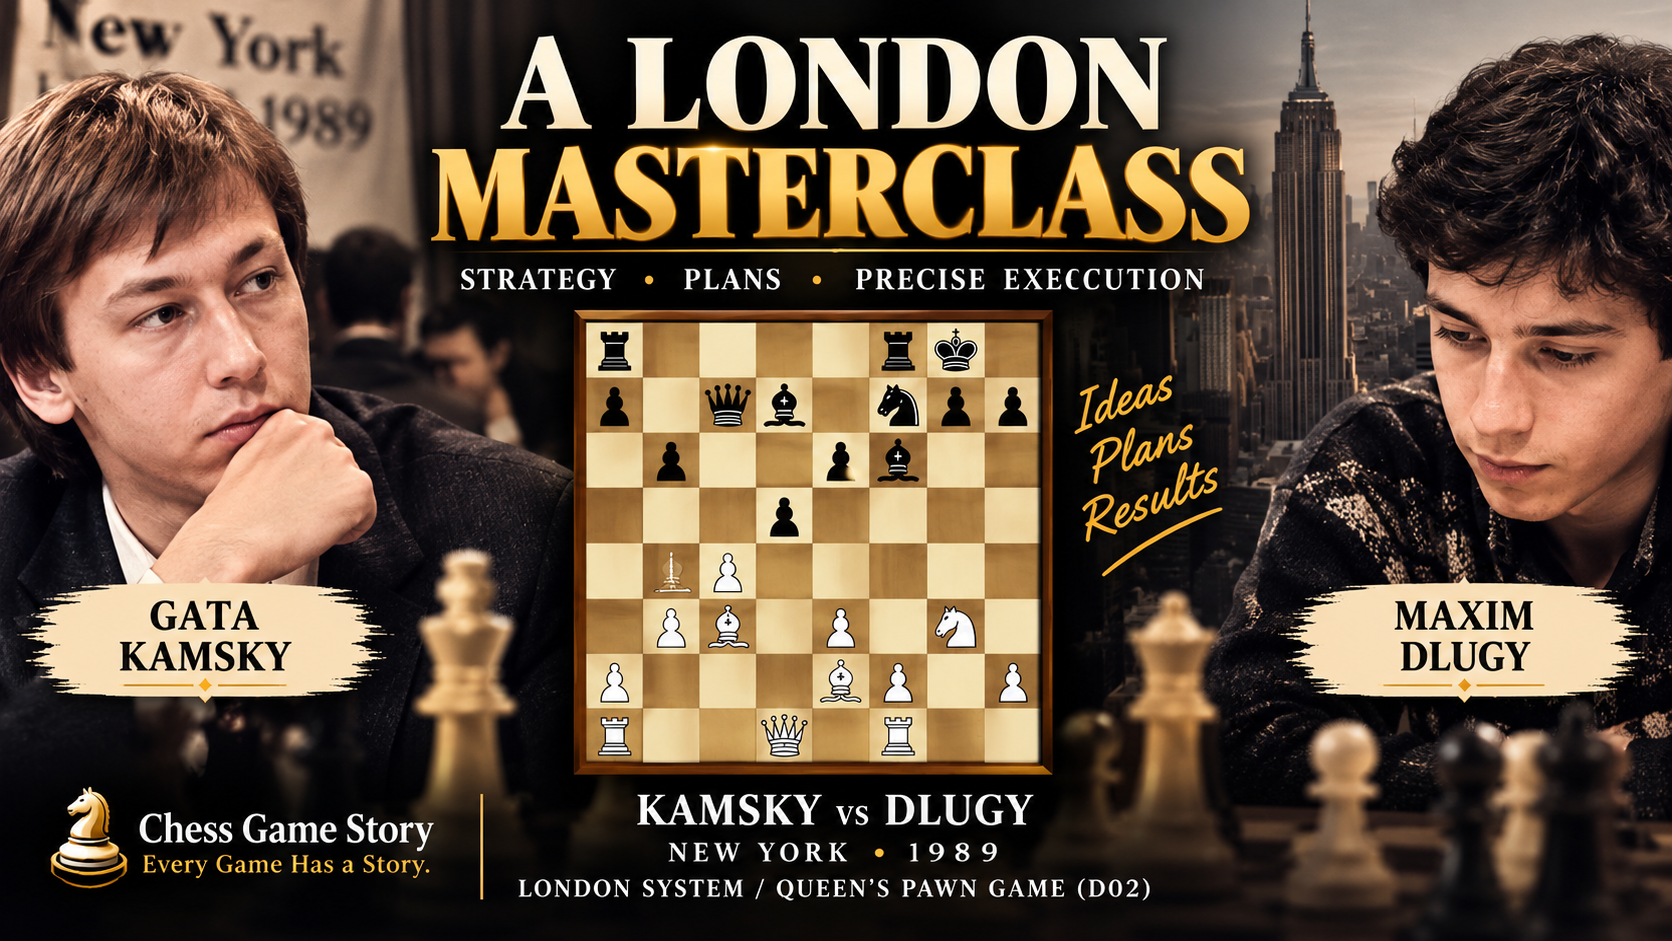 UnclassifiedD0216:10
How Kamsky Beat Dlugy with the Queen's Pawn Opening | Endgame, Strategy & Piece Activity
Kamsky, Gata vs Dlugy, Maxim
Endgame, Strategy & Piece Activity: what Kamsky vs Dlugy (Queen's Pawn Opening) teaches. The principles that decide rook endgames: rook activity, the rook behind the passed pawn, and cutting the king off.
Also covers Pawn Break